

My wife Carol has dealt with mild thumb arthritis for about six years now, and if you had told me a jar of dill pickles could turn into a fifteen minute standoff on my own kitchen counter, I would have laughed. That is exactly where we landed most Sunday afternoons before I finally did something about it. She would twist, I would hear that little grunt of frustration, and then the jar would get handed to me like a hot potato. I am sixty eight and not exactly weak, but some of those vacuum sealed lids on jarred salsa, the big warehouse store mayo jars, and anything my daughter Megan brings back from her canning hobby needed a wrench and a prayer. Our grandkids, all four of them, think it is hilarious to watch Grandpa grunt and turn red over a jar of pickles, which honestly was part of my motivation to fix this.
This guide walks through exactly how I use the KITCHENMUH electric jar opener at my counter here on the Texas coast, one step at a time, so you can get a stuck lid off in under thirty seconds without hurting your hands, your wrists, or your pride. I will also tell you where it struggles, because no gadget, this one included, gets every single jar open on the first try, and I would rather you know that going in than find out the hard way like we did.
Give Your Hands a Break Before the Next Jar Fight
If jar lids have turned into a daily wrestling match in your kitchen, you do not need a stronger grip. You need a machine that grips for you. This is the tool that ended the standoff at our house, and Carol has not asked me to open a jar for her in six months.
Amazon Check Today's Price on Amazon →Step 1: Check the Jar Before You Reach for the Opener
Before you even pick up the KITCHENMUH opener, take a second and look at the lid. Most stuck jars are stuck for one of two reasons: they were vacuum sealed tight during canning or packaging at the factory, or the threads got a little sticky from spilled syrup, honey, or brine sometime in the past sitting in the pantry. Wipe the rim and the threads with a dry towel first. Carol keeps a hand towel draped over the oven handle just for this, and it has saved us more than a few slippery attempts where the opener slid right off a sticky lid before it ever got a grip.
If the lid has any kind of rubber gasket, like on some pickle jars or the wide mouth mason jars Danny's wife uses for her sourdough starter, check that the gasket has not folded over on itself during shipping or storage. A folded gasket can make a jar feel stuck even when it is not, and no opener, electric or otherwise, will fix that particular problem for you. You just need to reseat it by hand first, which takes maybe ten seconds once you know to look for it.
This step sounds like it does not matter, but skipping it is the number one reason people think their opener is not working when really the jar just needed a quick wipe down first. I skipped it the first week we owned ours and blamed the machine for two jars in a row before Carol pointed out what I was doing wrong.
Step 2: Set the Jar and Position the Opener Correctly
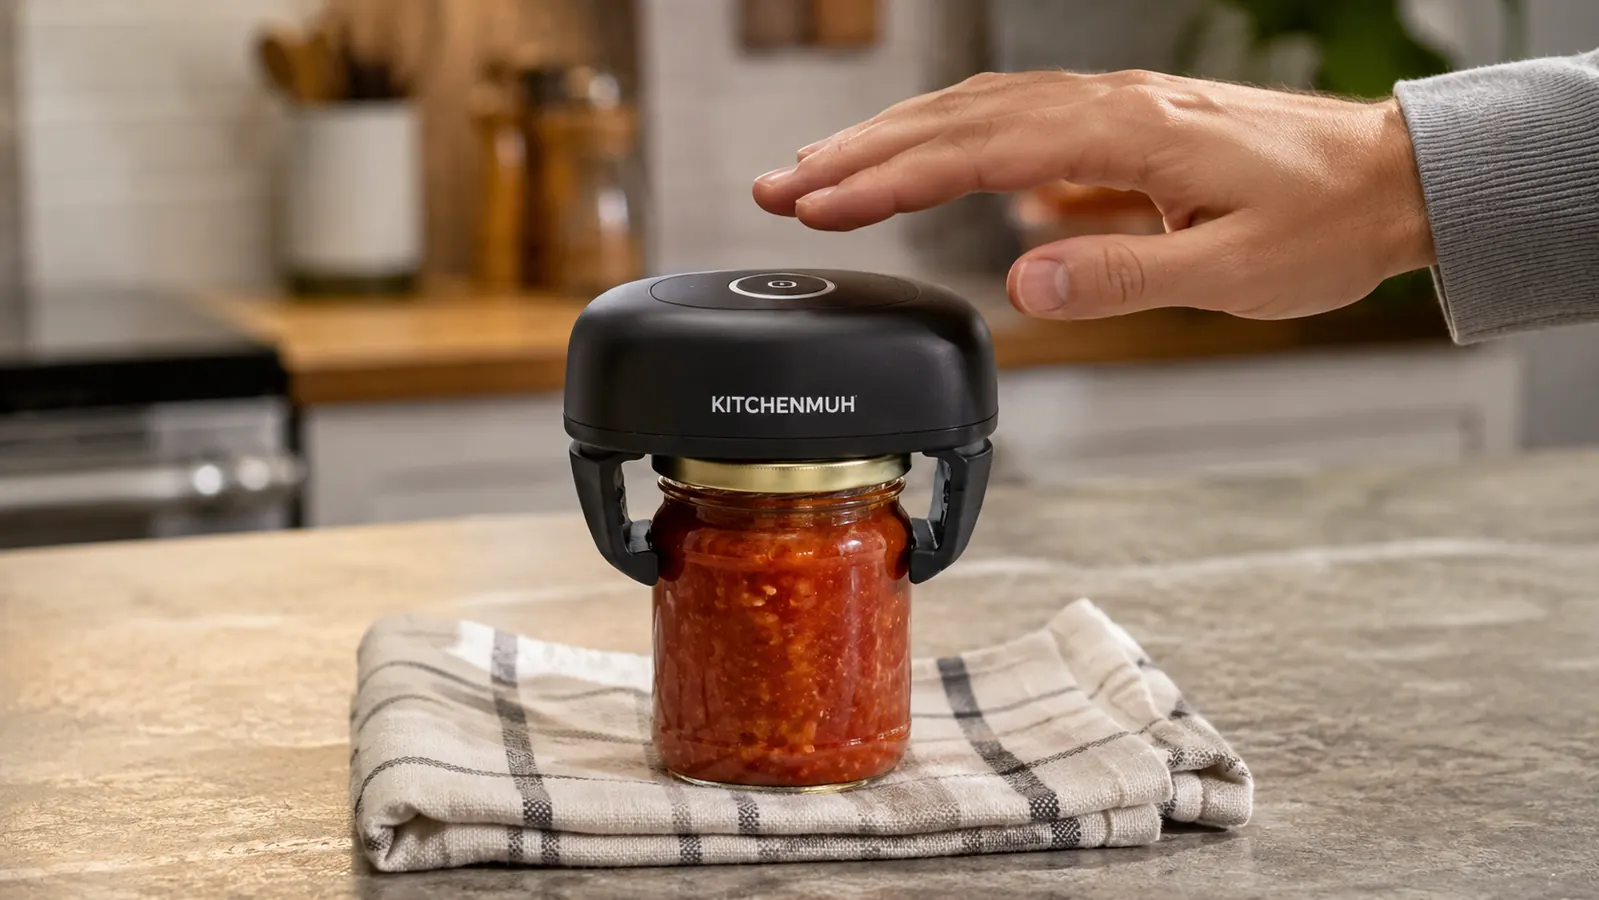
Set the jar flat on the counter, not in your hand and not tilted at an angle. This matters more than people think it would. I learned this the hard way the first week we owned ours, trying to hold the jar up in one hand and press the KITCHENMUH opener down with the other, the same way I used to use my old rubber grip pad. It works far better, and far more safely, when the jar has something solid underneath it instead of your palm.
The KITCHENMUH electric jar opener has a wide base with a nonslip rubber ring that clamps down over the lid from above. You lower it straight down onto the lid until it seats fully and flush, then let it sit there a second before you engage the button. Do not press it in at an angle or off center, the rubber grip needs full, even contact with the lid to bite down and start turning without slipping.
A folded kitchen towel underneath the jar helps a lot too, especially on glass jars that want to spin instead of staying put. Carol keeps one folded under the corner of the counter mat by the coffee maker just for this, so it is always within reach when a jar needs opening.
A quick safety note here too, since we have four grandkids in and out of the house most weekends: the KITCHENMUH opener only spins when the button is held down and it is seated flush on a lid, so it is not something that turns on by accident in a drawer. Even so, we keep it up on the counter stand rather than somewhere little hands can reach it unsupervised, the same as we would with any small kitchen appliance that has a motor in it.
I also learned to keep the charging cable coiled and tucked behind the stand rather than dangling across the counter, mostly because our youngest grandson, Danny's boy, likes to tug on any cord he can find. Small thing, but worth mentioning if you have little ones around your kitchen too.

Step 3: Let the Motor Do the Twisting, Not Your Wrist
This is the step that changed things for Carol. Once the KITCHENMUH opener is seated on the lid, you press the button and let the motor do the work of turning it. It is built with a higher torque motor made specifically for jars that would otherwise need a strong twisting motion from your hand, which is exactly the motion arthritis in the thumbs and wrists makes so painful. You are not gripping or twisting anything yourself at all. Your only job is to hold the jar steady against the counter with your other hand while the motor spins.
It usually takes somewhere between five and twenty seconds depending on how tight the seal is underneath the lid. You will hear a little pop or hiss when the vacuum seal finally breaks, and the motor keeps spinning the lid the rest of the way loose after that. On a normal peanut butter jar or a jam jar, this whole step takes less time than it took me to write this paragraph about it.
I will say the motor does have a distinct whirring sound to it, nothing loud, but Carol jokes that it sounds like a tiny dentist drill. You get used to it fast, and it is a small price to pay for not fighting a lid every morning.
Step 4: Handling Extra Stubborn or Oversized Jars
Every so often you get a jar that fights back even against the motor, usually the big warehouse sized jars of mayonnaise or the tall glass jars of marinara sauce that seem to come from a different planet in terms of size and lid diameter. For those, I hold the base of the jar down firmly against the counter with a folded towel underneath for extra grip, and give the opener a few extra seconds before I decide it is not going to break the seal on its own.
In my experience, roughly one jar in fifteen or twenty just will not budge for the motor alone, usually something with an unusually wide lid or one that got over tightened at the factory during bottling. When that happens, I run the lid briefly under hot tap water for about ten seconds to expand the metal slightly, dry the lid off completely, and try the opener again. That combination has handled every single holdout jar we have run into over six months of regular use in our kitchen.
One caveat worth mentioning honestly, because I promised I would tell you where it struggles: this opener is built for standard to large jar lids, not the tiny baby food or spice jar sizes. Carol found that out trying it on a small jar of cinnamon, and it just spun around the rim without ever catching a proper grip.
It also is not built for the truly oversized commercial jars you sometimes see at wholesale clubs, the ones a full size restaurant kitchen would use. For a normal household, though, including everything Megan sends home from her canning weekends, it has handled the job every time once we knew the extra hot water trick.
Step 5: Store It Where You Will Actually Use It
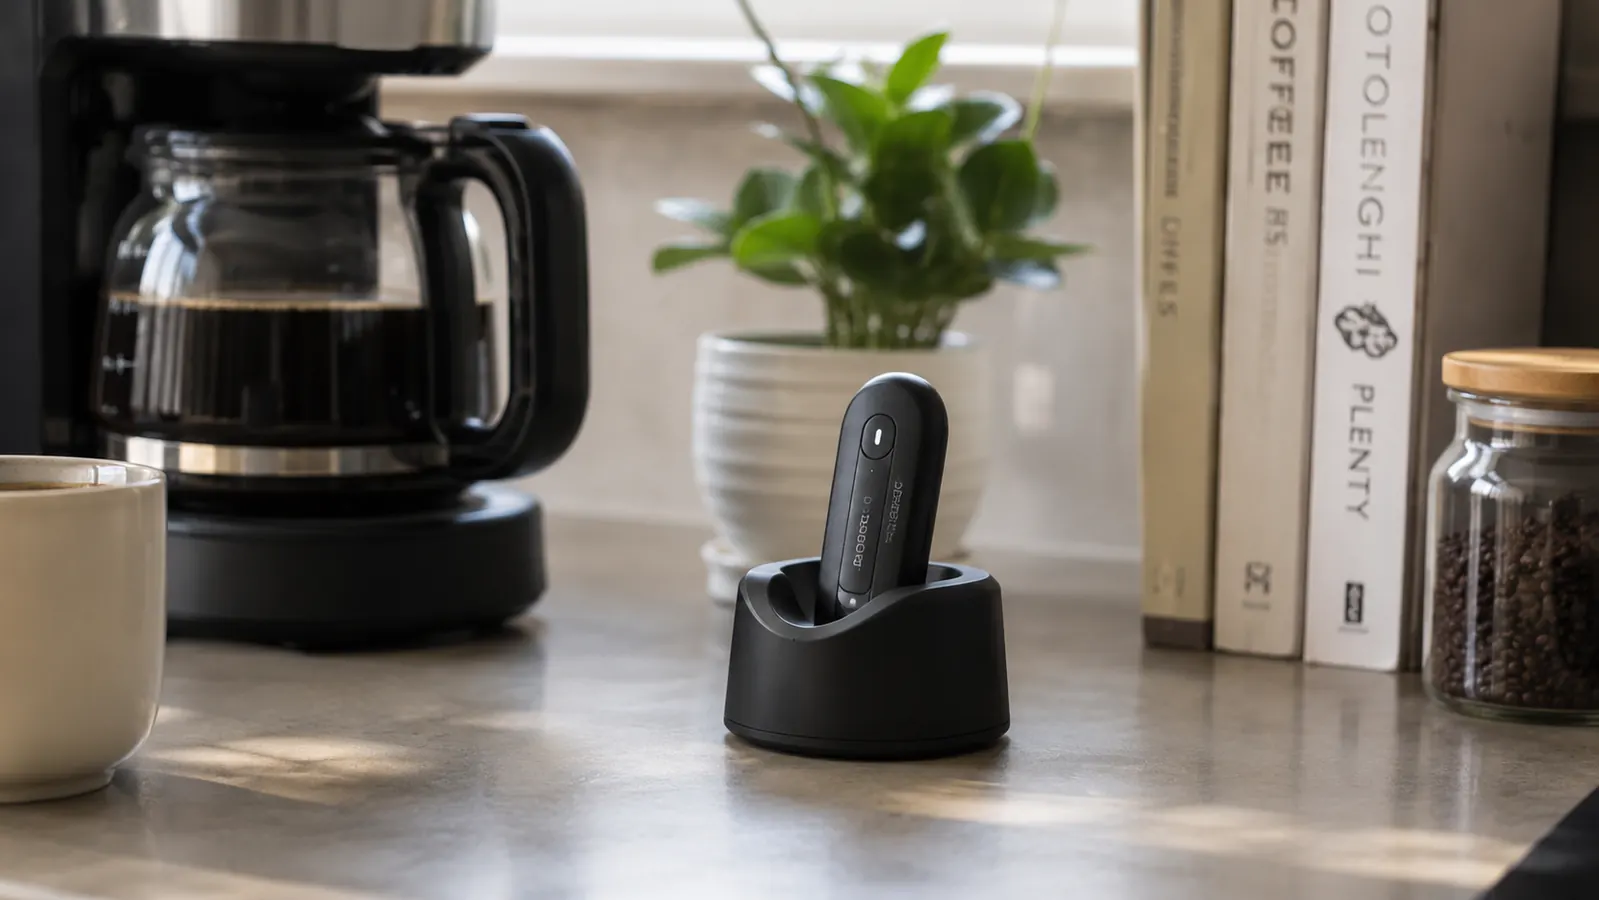
The last step is not really about opening jars at all, it is about making sure the opener actually gets used instead of getting stuck in a drawer somewhere and forgotten. We keep ours charging on a little stand right next to the coffee maker, since that is where most of our stuck jars end up getting discovered in the first place, usually the peanut butter jar at seven in the morning before Carol has had her coffee.
It runs on a rechargeable battery, so a quick charge once a week is plenty for normal use in a house like ours. Wipe the rubber grip ring down after any particularly sticky jar, honey or maple syrup especially, so it keeps its grip strength over time instead of getting gummy. Ours has held up fine across six months of near daily use, though I will say honestly the grip ring shows a little wear already, and I would not be shocked if it needs replacing in another year or two of steady use.
What Else Helps
The opener handles the twisting, but a couple of small habits make the whole process even smoother around our kitchen. I still keep an old rubber jar opener pad in the drawer for the rare occasion the battery is dead and I am in a hurry to get lunch on the table for the grandkids. And honestly, buying jars with pop top or easy open lids when the brand offers them, like some pickle and salsa brands now do, cuts down on how often we even need the opener in the first place. It is not a replacement for the opener, just a way to pick your battles on a busy day.
One more habit that helps, Carol started storing new jars of pickles and salsa upside down in the pantry for the first day after we buy them. Something about gravity working on the seal makes them come open a touch easier, whether we use the opener or not. It is a small trick, not a guaranteed fix, but it has not hurt anything and it seems to help on the toughest lids.
Carol handed me a jar of salsa the other night out of pure habit, before she caught herself and remembered she did not need to anymore. That is really what this whole thing is for.
Stop Handing Off Every Jar to Someone Else
You should not need a second pair of hands just to make a sandwich or dress a salad. This is the tool that took jar lids off our daily list of small fights, and it might do the same for your kitchen.
Amazon Check Today's Price on Amazon →