
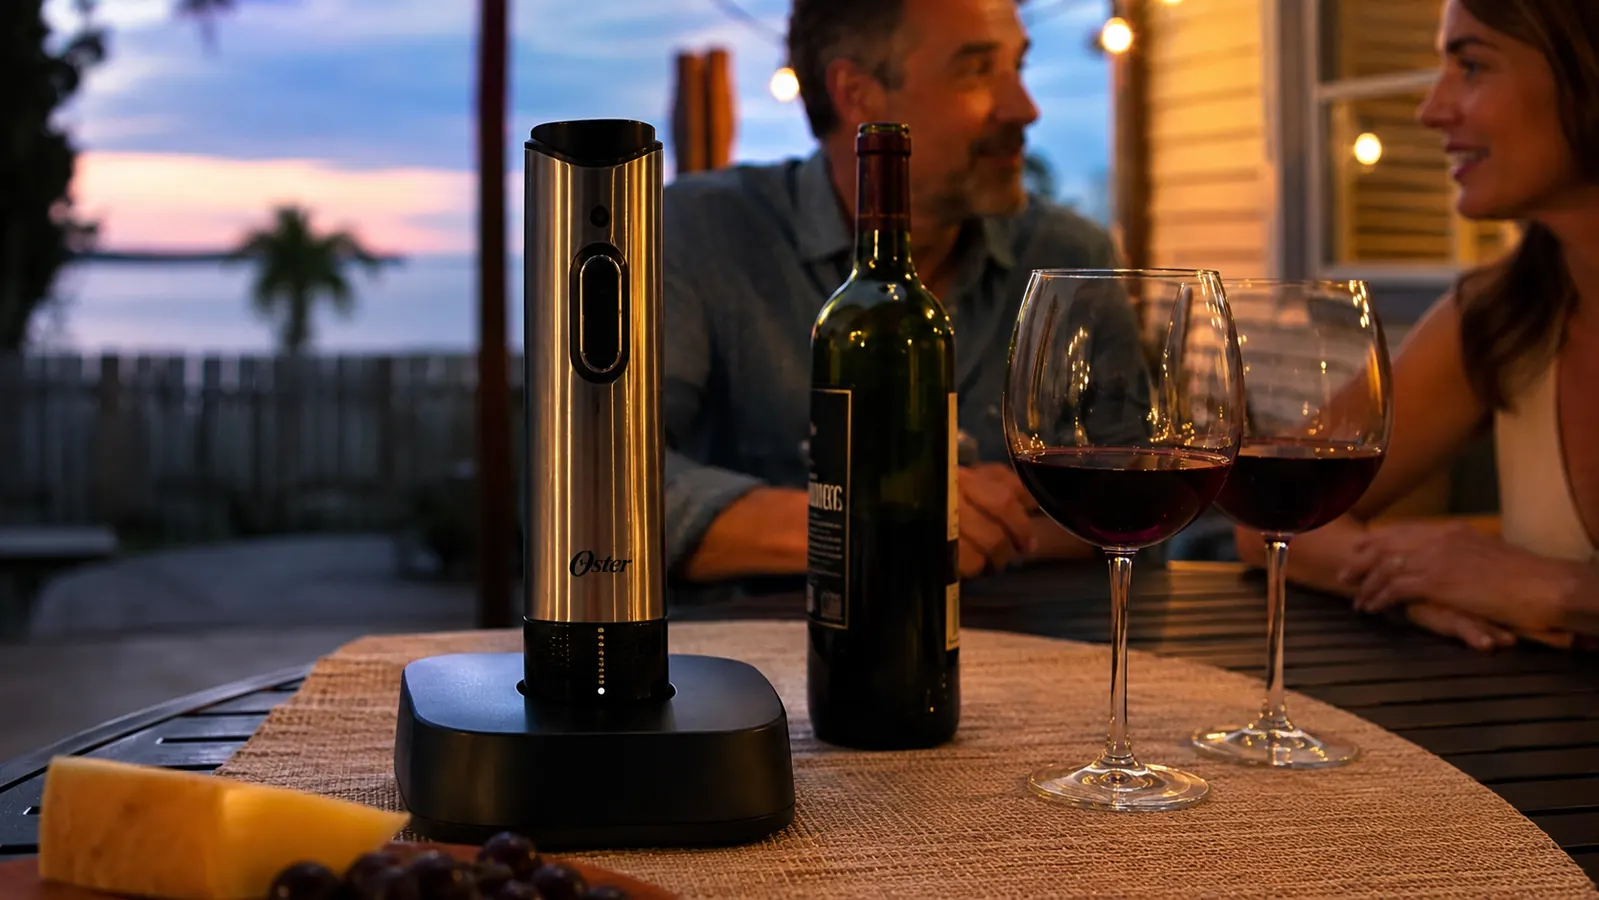
I've opened more bottles of wine in the last six months than I probably did in the ten years before that, and almost all of it happens the same way now. Somebody shows up to the patio with a bottle, I grab the Oster Cordless Electric Wine Bottle Opener off its charging base by the fruit bowl, and about ten seconds later the cork is out and nobody's waited around watching me fight with a waiter's key. That didn't happen by accident. I fumbled my first few bottles just like anybody would with a new gadget, and I figured out a routine that gets it right every time.
This is that routine, step by step, the way I actually do it at my counter here on the Texas coast most weekends from March through the end of summer. My wife Carol has mild thumb arthritis and had basically stopped opening wine herself before we got this thing, so a lot of what I'll walk through here is aimed at making sure it works cleanly for hands that don't have a strong grip left in them, not just for somebody who wants to look fast in front of company.
None of these steps are complicated on their own, but skipping one or rushing through it is exactly how I ended up with a stuck cork or foil bits scattered across the counter the first couple of times I used this thing. Once I got the order right and made it a habit, it stopped feeling like a gadget I had to think about and started feeling like something I just did without paying much attention, the same way you don't think twice about turning a doorknob.
Tired of Wrestling a Cork in Front of Company?
The Oster Cordless Electric Wine Bottle Opener pulls a standard cork in about six seconds flat, no wrist, no grip, no waiter's key digging into your palm. Check today's price on Amazon before your next dinner.
Amazon Check Today's Price on Amazon →Step 1: Cut the Foil Before You Ever Touch the Opener
The Oster opener comes with a small plastic foil cutter that snaps onto the neck of the bottle. I keep it in the same kitchen drawer as the corkscrew we used to use, right where I can grab it without hunting around while everybody's standing there waiting. You slide the cutter down over the foil cap until it seats around the neck, then give it two or three full turns.
Pull the cutter straight up and off once you feel it's cut all the way around, and the foil cap should lift right off with it most of the time. If it doesn't lift clean, don't force the opener down on top of stuck foil, just peel the loose piece off by hand first. I learned that one the hard way early on, trying to skip straight to the electric part with foil still hanging on, and all it did was slow me down and leave little foil bits on the counter.
The foil cutter itself is honestly the flimsiest piece of the whole kit, a little snap-fit plastic ring rather than anything metal, so I try not to grip it too hard or twist it at an angle. It's held up fine for me over six months of near weekly use, but I'd expect it to be the first part to crack if it ever took a hard drop on the tile. Handle it gently and it'll keep doing its job.
Step 2: Wipe the Rim, Especially on Older Bottles
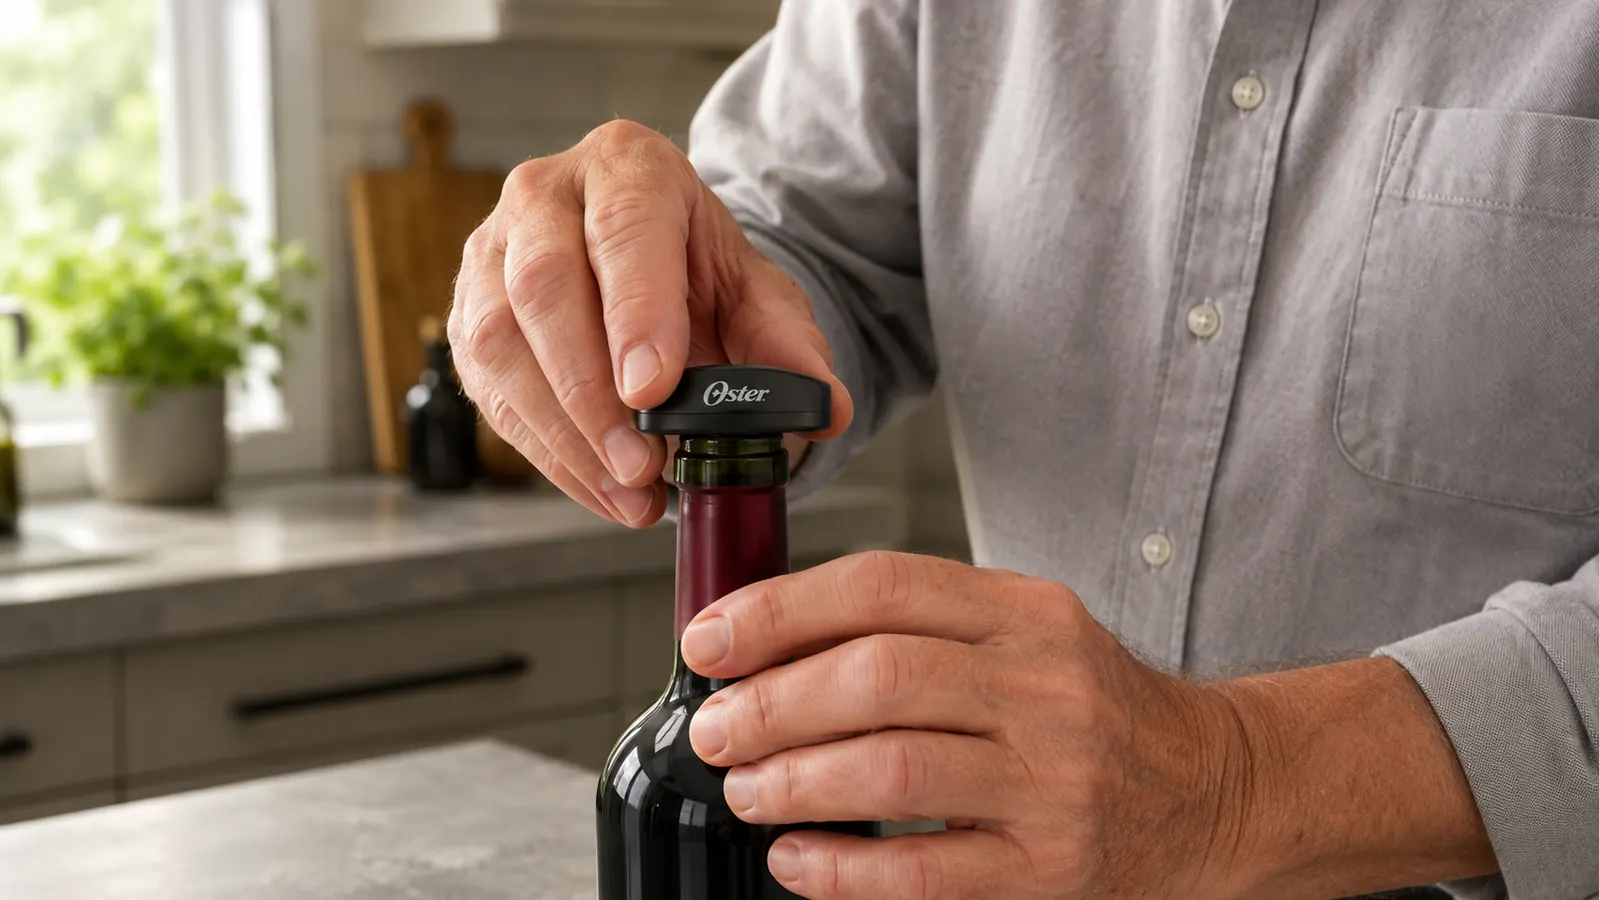
Once the foil's off, take two seconds and wipe the rim of the bottle with a clean towel. This matters more than people expect. Bottles that have been sitting in a cabinet for a while sometimes have a little dust or residue right at the top, and a dry rim helps the opener seat evenly instead of sliding around when the motor first engages.
This step takes almost no time, but skipping it is one of the more common reasons I've seen the opener seem to wobble or grip unevenly when Danny or Megan have used it at family get-togethers. A clean, dry rim gives the opener a stable base to sit on for the next step, and it's the kind of thing that becomes automatic after you've done it a handful of times.
Carol keeps a small hand towel draped over the oven handle for exactly this reason now, right next to the one she uses for jars. It sounds like a small thing to mention in a guide like this, but a wet or sticky rim is the single biggest reason I've seen the opener slip a little as it starts to bite into the cork, so a dry rim is worth the two seconds every single time.
Step 3: Set the Opener Straight Down and Hold It Steady
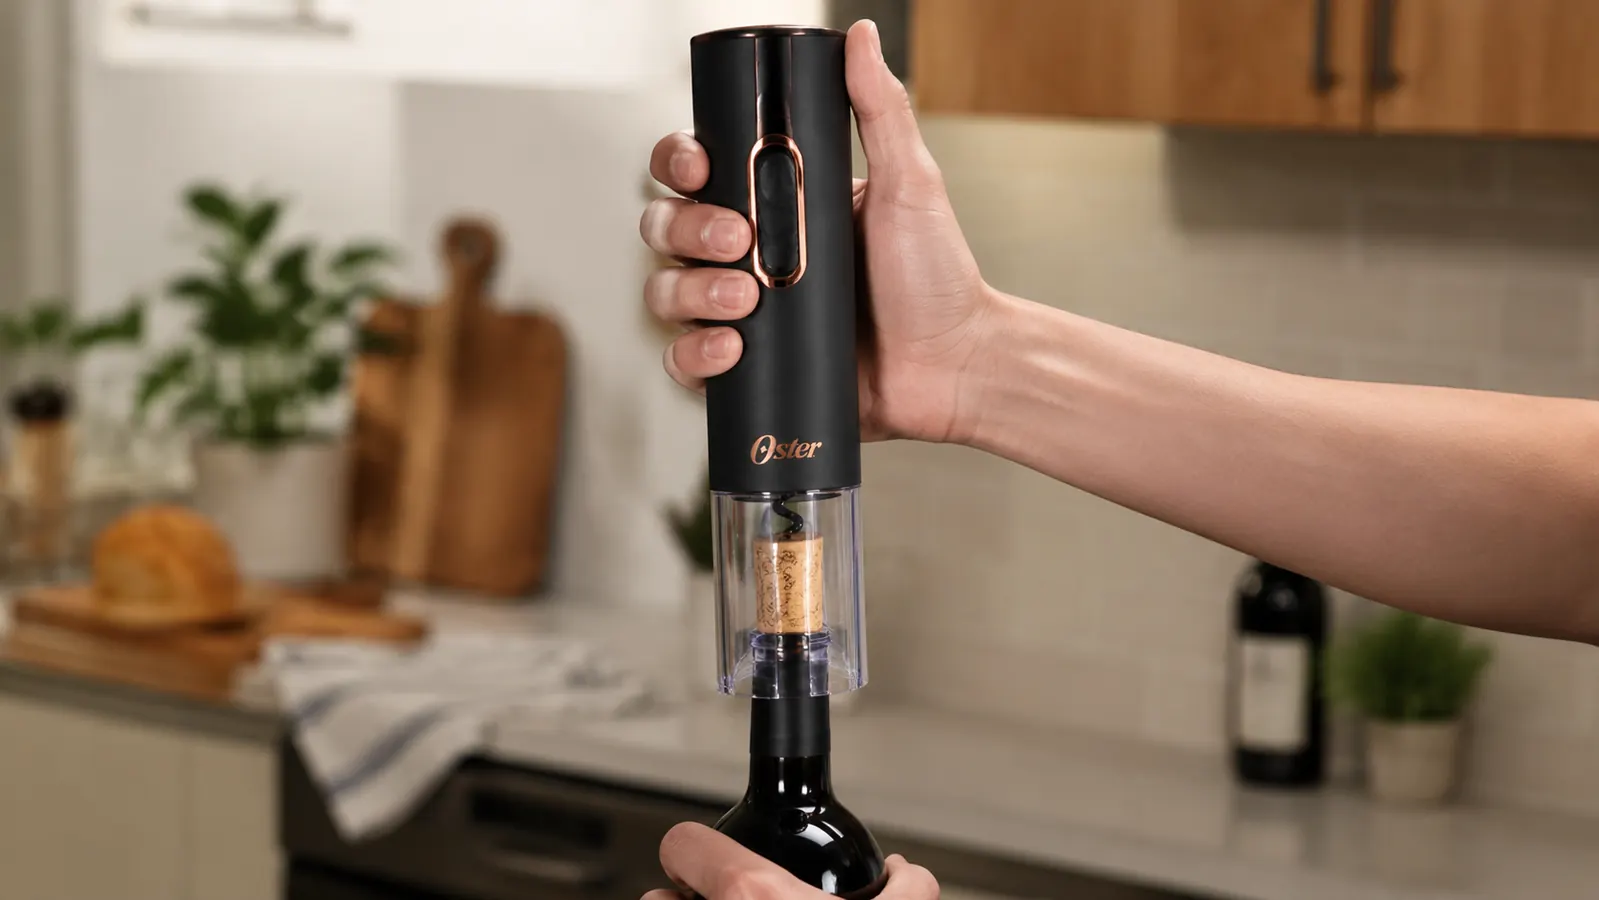
Place the Oster opener directly on top of the bottle, centered over the cork, and hold it there with light downward pressure. You don't need to lean your body weight into it the way you would with an old fashioned corkscrew. The whole point of this gadget is that the motor does the work, your job is just to keep it steady and straight so it doesn't tilt sideways as it screws down into the cork.
I hold the bottle with one hand near the base and the opener with the other, elbow tucked in close so my arm isn't wobbling. Carol does it the same way, and she's told me more than once that this is the part that actually matters for her thumbs, since there's no twisting motion required at all, just holding something steady, which she can do fine even on days her hands are bothering her.
If the bottle itself is wobbly on the counter, which happens more than you'd think with older bottles that have an uneven base, set it on a folded dish towel first so it doesn't rock while you're holding the opener down. That five second fix has saved me from a couple of near misses where the whole setup started to tip as the motor engaged.
Step 4: Press and Hold the Button Until the Cork Comes Free
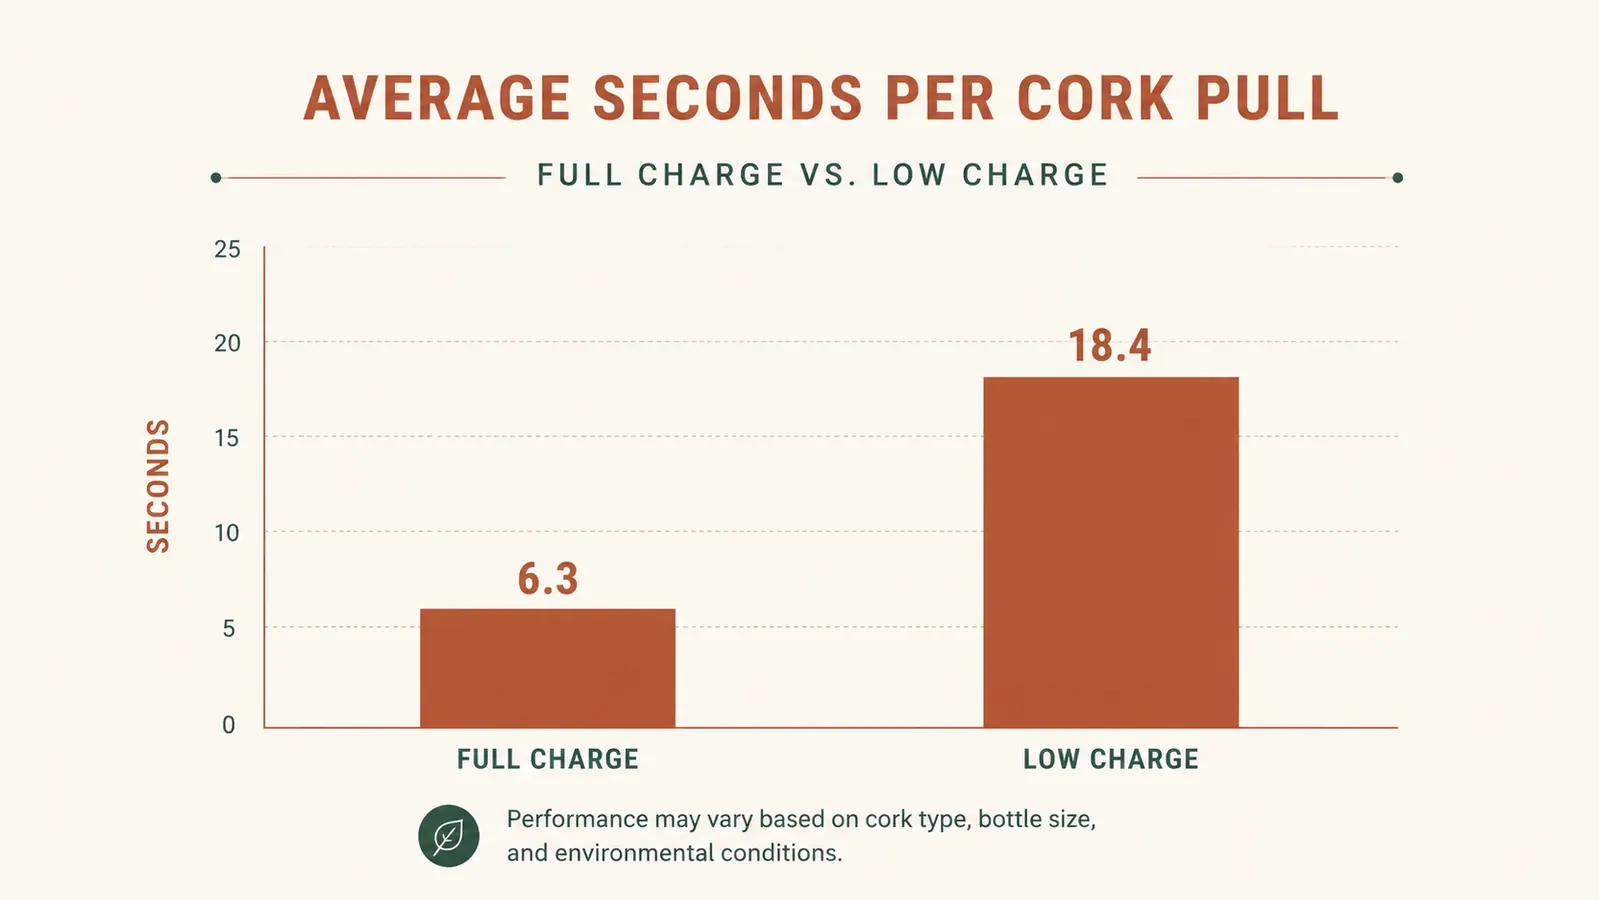
Press the button on the opener and hold it down. You'll feel and hear the motor engage as it screws down into the cork, and after a few seconds it'll reverse direction and start pulling the cork straight up and out. On a fresh charge with a standard cork, this whole process takes about six seconds from start to finish, which still catches new guests off guard the first time they watch it happen.
Keep holding the button the whole time, don't let go partway through thinking it's done, because the motor needs to complete both the downward screw and the upward pull in one continuous motion. If you release early, the cork can end up stuck halfway, and you'll need to start the process over rather than just finishing where you left off.
Older, drier corks and synthetic plastic stoppers are the two spots where you'll notice this step take longer, sometimes needing a second full pass where the opener resets and tries again. That's not a malfunction, it's just how the motor handles a tougher grip, and I've had it happen maybe twice in six months of near weekly use. Just let it finish the second pass rather than pulling it off partway through.
Step 5: Eject the Cork and Reset for the Next Bottle
Once the cork is fully out, most models eject it automatically when you press the button a second time with the opener tilted away from the bottle, popping the cork off the screw and into your hand or onto the counter. Wipe the little metal screw with a paper towel before you set the opener down, since a bit of wine residue tends to cling to it and you don't want that transferring onto the charging base or the counter.
If I'm opening several bottles back to back, which happens most Fourth of July gatherings with the whole family on the patio, I'll wipe the screw between every single bottle rather than letting residue build up. It takes three seconds and keeps the next cork from picking up any flavor transfer from the last bottle, plus it just keeps the whole thing looking clean sitting out on the counter in front of company.
Once the cork's ejected and the screw is wiped down, I set the opener straight back on its charging base rather than leaving it out on the counter between bottles. It sounds like a small habit, but it's the single thing that's kept me from ever getting caught with a dead unit mid-dinner in the last few months, and it takes the same effort as just setting it down anywhere else.
What Else Helps: Charging Habits and a Few Small Tricks
The single biggest thing that makes this whole process go smoothly every time is keeping the opener charged and docked on its base when it's not in use. I keep the base plugged in right on the kitchen counter near the fruit bowl, and the second I'm done with a bottle, it goes straight back on the charger. I forgot to do that once for about two weeks and came back to a nearly dead unit right before company showed up, which meant pulling out the old waiter's key for the last bottle of the night while it charged in the other room.
On a full charge, you can typically count on somewhere between twenty five and thirty bottles before the motor starts to slow down noticeably, taking closer to ten or twelve seconds instead of six on the later bottles. If you know you've got a full house coming and expect to go through more than a couple of bottles, it's worth checking the charge level that afternoon rather than assuming it's ready. Older, drier corks and synthetic plastic stoppers both take a little longer and sometimes need a second pass, so build in a few extra seconds of patience for those rather than assuming something's broken if the first pull doesn't fully clear the cork.
A full recharge from empty takes a few hours, which is worth knowing before the day of a big gathering rather than finding out mid-dinner. I've made it a habit to plug it in the night before anytime I know we've got a full patio coming the next evening, the same way I'd check that we had enough ice or enough chairs. It's a small routine, but it's the difference between this thing being a reliable part of hosting and an occasional surprise.
The whole routine takes about the same time it used to take me just to find the corkscrew in the drawer.
Ready to Stop Fighting With a Waiter's Key?
Once you've got the routine down, opening a bottle takes less time than pouring the first glass. Check today's price on Amazon and see how it fits your next dinner.
Amazon Check Today's Price on Amazon →